\documentclass[12pt, a4paper]{report}\usepackage{ctex}% 中文的宏包
\usepackage{indentfirst}\usepackage{graphicx}% 插入圖片的宏包
\usepackage{float}% 設置圖片浮動位置的宏包
\usepackage{subfigure}% 插入多圖時用子圖顯示宏包
\usepackage{listings}% 代碼塊宏包
\usepackage{color}% 代碼高亮
\usepackage[colorlinks,linkcolor=blue]{hyperref}% URL 包
\usepackage[pdf]{graphviz}\usepackage{alphalph}\renewcommand*{\thesubfigure}{(\arabic{subfigure})}\definecolor{dkgreen}{rgb}{0,0.6,0}\definecolor{gray}{rgb}{0.5,0.5,0.5}\definecolor{mauve}{rgb}{0.58,0,0.82}\lstset{%
%language=Octave, % the language of the code
basicstyle=\scriptsize\Hack, % the size of the fonts that are used for the code
numbers=none, % where to put the line-numbers
numberstyle=\tiny\color{gray}, % the style that is used for the line-numbers
stepnumber=2, % the step between two line-numbers. If it's 1, each line
% will be numbered
numbersep=3pt, % how far the line-numbers are from the code
backgroundcolor=\color{white}, % choose the background color. You must add \usepackage{color}
showspaces=false, % show spaces adding particular underscores
showstringspaces=false, % underline spaces within strings
showtabs=false, % show tabs within strings adding particular underscores
frame=single, % adds a frame around the code
rulecolor=\color{black}, % if not set, the frame-color may be changed on line-breaks within not-black text (e.g. commens (green here))
tabsize=2, % sets default tabsize to 2 spaces
captionpos=b, % sets the caption-position to bottom
breaklines=true, % sets automatic line breaking
breakatwhitespace=false, % sets if automatic breaks should only happen at whitespace
title=\lstname, % show the filename of files included with \lstinputlisting;
% also try caption instead of title
keywordstyle=\color{blue}, % keyword style
commentstyle=\color{dkgreen}, % comment style
stringstyle=\color{mauve}, % string literal style
escapeinside={\%*}{*}, % if you want to add LaTeX within your code
morekeywords={*,...}% if you want to add more keywords to the set
}\setCJKmainfont{Noto Serif CJK TC}% 主要字體 Noto Serif
\newfontfamily\Hack{Hack}% 代碼字體
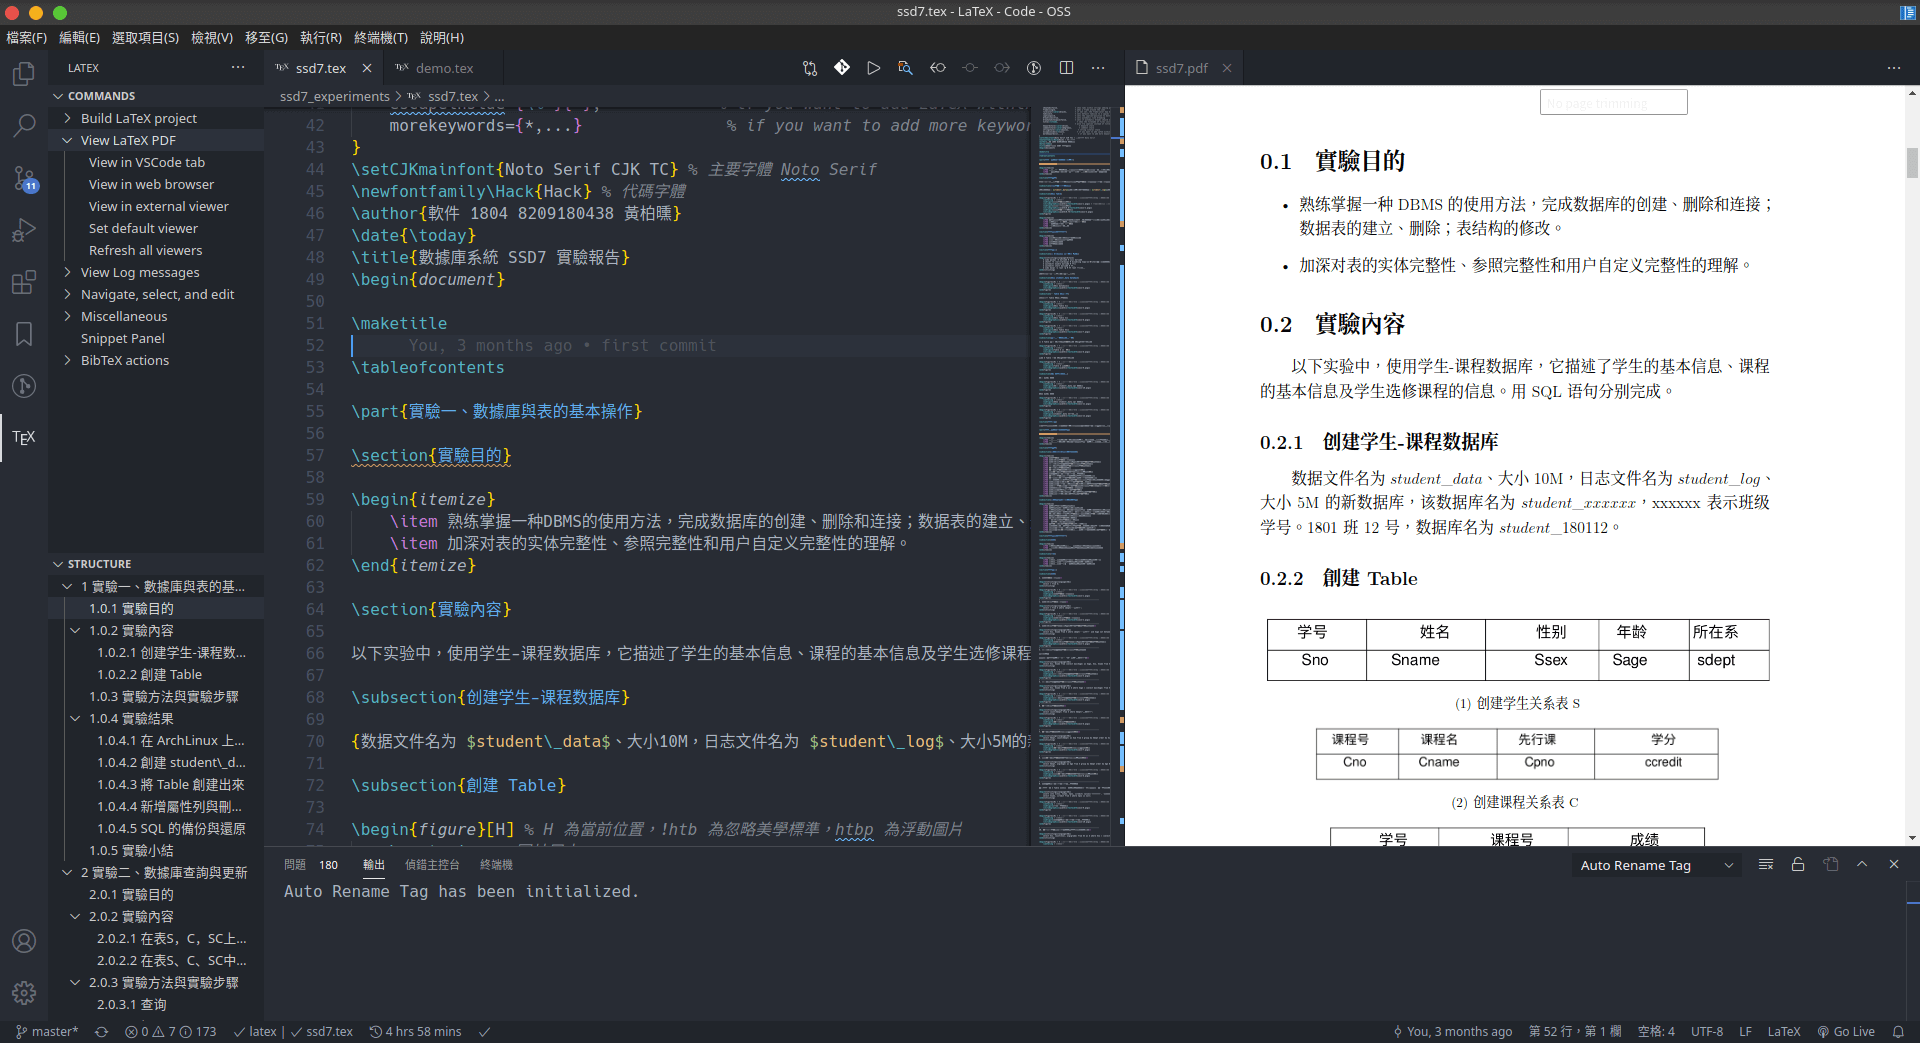
\author{Huang Po-Hsun}\date{\today}\title{數據庫系統 SSD7 實驗報告}\begin{document}\maketitle\tableofcontents\part{實驗一、數據庫與表的基本操作}\section{實驗目的}\begin{itemize}\item 熟练掌握一种DBMS的使用方法,完成数据库的创建、删除和连接;数据表的建立、删除;表结构的修改。
\item 加深对表的实体完整性、参照完整性和用户自定义完整性的理解。
\end{itemize}\end{document}
 Rem Blog